A hot tent is a tent designed to be used with a wood stove inside.
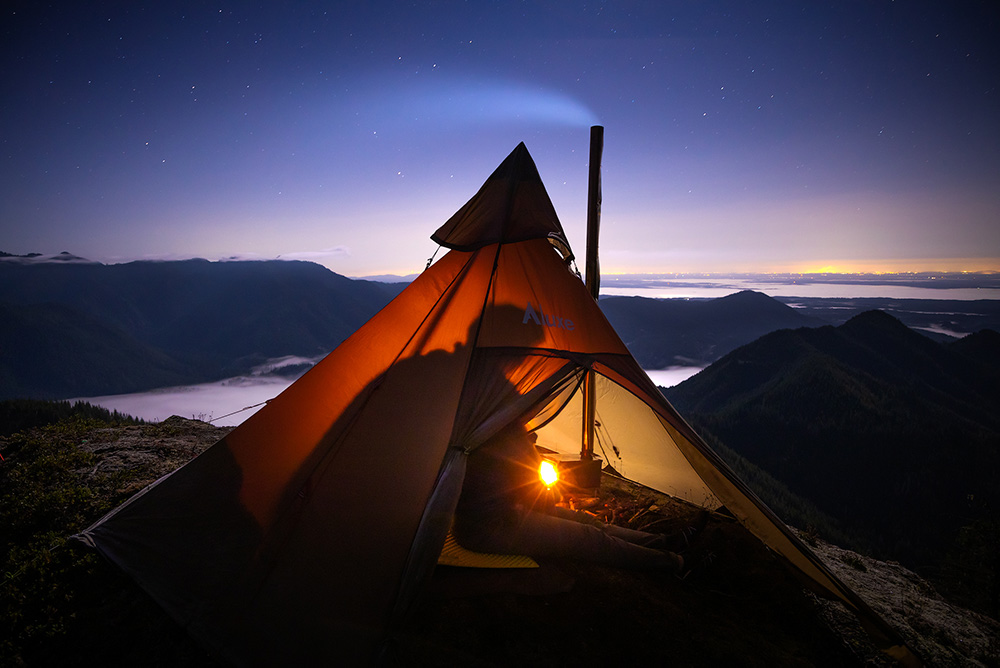
I love going this route on backpacking & hunting trips when bad weather keeps most people at home.
This page goes over:
- The pros & cons
- Essential tips for beginners
- Gear recommendations (tent stoves, hot tents, & accessories)
- And more
Don’t forget you can use the table of contents below to skip to a topic.
Page Contents
Hot Tent Backpacking in a Winter Storm Video
Every New Year, Trish and I celebrate our anniversary by going on a coastal backpacking trip. The weather called for 40+ MPH winds & inches of rain this trip…
We almost called it off but decided to push forward & hope for the best. This video documents the experience.
5 Downsides of Hottenting
Starting here because I don’t want to waste your time & energy on something that might not be a good fit for you.

1. There are serious safety concerns about having a glowing red stove in your tent.
Be aware that there is a potential for carbon monoxide poisoning.
That said, If you are using the right gear correctly, you will have nothing to worry about.
I like to compare it to driving a car. Do your homework.
2. Extra work at camp:
- Collecting & processing firewood
- Set up & take down of stove
- Tending to the fire
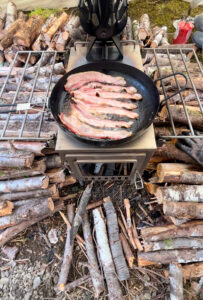
You can easily spend 2+ hours a day here. MUCH more time-consuming than a typical outdoor fire.
3. Camping in high winds can be terrifying.
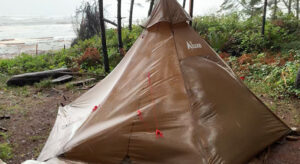
Imagine this: insanely hot woodstove ripping, and your shelter is being battered by 40+ MPH winds. I have had a few sleepless nights in these conditions.
Most hot tents aren’t free-standing shelters. If one stake pulls out, game over.
4. Carrying extra weight.
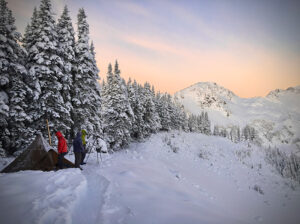
Outside of my backpacking gear, I’m carrying:
- Stove & chimney pipe
- Saw
- Hot tent accessories
Expect to carry an extra 4 – 30 pounds, depending on setup.
Having a lightweight gear selection, to begin with, really helps me take on the extra weight.
5. It’s season-based.
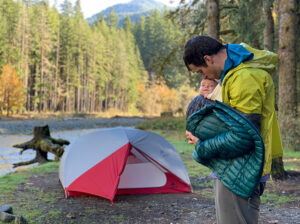
During the warmer months of the year, hot tenting is a no-go for me. The extra warmth isn’t necessary & there might be a potential for starting a forest fire.
If you don’t plan on camping in cold or wet conditions, it’s probably not for you.
7 Benefits to Using a Hot Tent
If it’s going to be wet or cold, odds are, I’m going to be in a toasty tent.
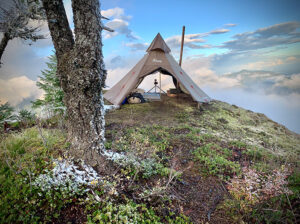
1. The experience is downright fun. Sitting by the woodstove with friends, cooking awesome food, & watching the fire is a life highlight for me.
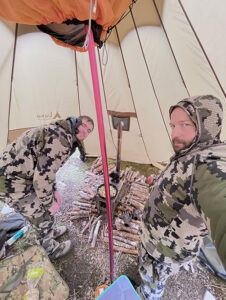
2. Staying warm in the cold.
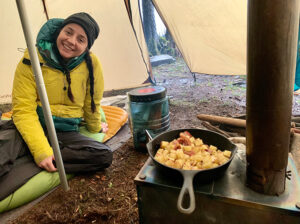
I’ve been in freezing conditions & have been forced to strip down to just my base layers because of how hot our tent was.
3. I just did a 12-day hunting trip in some pretty nasty conditions.
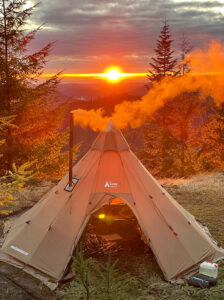
It was so nice to get back to base camp, soaking wet & dry out wet gear. Your sleeping bag can dry out too.
4. You can easily boil water. I love that I don’t have to buy or bring fuel on these trips. Just throw your pot or pan on the stove & utilize the fire.
5. It creates the ultimate base camp.
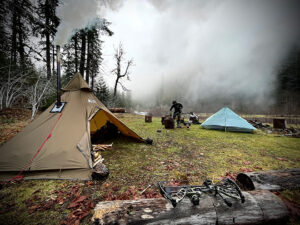
Always having a warm sanctuary to come back to is where the hot tent shines the most. This is a game-changer in consistent inclement weather.
6. You can cook real food.
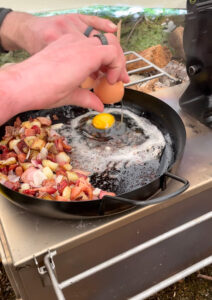
A frying pan comes on most of these trips & we eat better than I do at home. Always a highlight of the trip.
7. Free ambient light. It gets dark way early in the wintertime. The glass panels on your stove will allow for a subtle glow throughout the tent.
Hot Tent Accessories
Disclosure – I am good friends with the owner of Luxe Hiking Gear. That said, I don’t make any affiliate money from promoting their gear.
I may receive a small commission from anything purchased through Amazon links on this page. This adds no additional cost to you and helps me keep the site running.
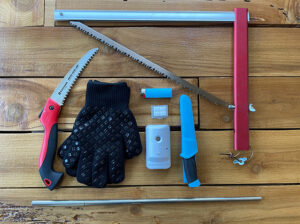
Hand saw: You’re going to have to cut your wood into stove-sized pieces.
A small foldable saw will get the job done.
Using a larger, high-quality saw can save you time & energy at camp. I really LOVE my Sven saw. Silky also makes some really nice packable saws.
Camp chair: This makes sitting by the fire that much more enjoyable—lots of great options for ultralight packable chairs.
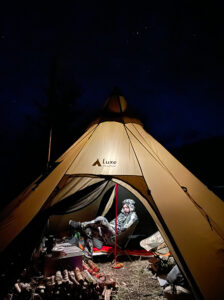
Large Knife or hatchet: After sawing wood into stove-sized pieces, you’re going to need to split it down.
I prefer using a large knife & a piece of wood as a baton if I’m backpacking. Much lighter than a hatchet & the knife is multipurpose.
If you can take on the extra weight, a lightweight hatchet can get the job done much easier.
Fan: Push that warm air into the far reaches of your tent.
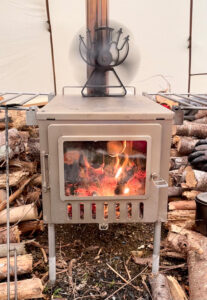
These heat-powered fans are amazing. Just set it on top of your stove & they work like magic.
Blow rod: AKA a pocket fire bellow.
I wish I purchased this one a long time ago. Virtually weightless & makes the job of starting the fire easier & more efficient.
Gloves: Dealing with a hot stove with bare hands sucks. Get yourself some heat-resistant gloves.
Also, rollable chimney pipes are extremely sharp & these will protect you from cutting a finger off during set up.
Ground mat: These reflective mats sit under your stove & protect the floor from hot coals & embers. They also reflect a bunch of heat that would otherwise be sucked into the cold ground.
CO detector: It’s always best to play it safe. I started using a portable CO detector when my son was born.
5 Ultralight Tent Wood Stoves
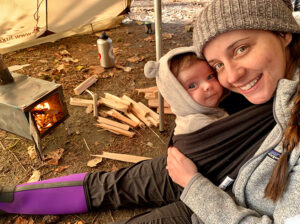
The stoves mentioned below are lightweight & very packable.
Personally, having a glass panel on my stove is a MUST. Seeing the fire is incredibly pleasurable! Plus, it’s much easier to know when you need to stoke the fire. Another bonus is the natural light inside your tent.
That said, glass panels add extra weight to your stove & there is the possibility of them breaking. It really comes down to personal preference here.
3W Wild Wild West Stove: This is the stove that I currently use while backpacking.
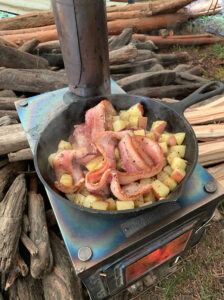
Highlights:
- Only weighs 4 pounds
- Packs down super small
- Has a glass front panel
- Costs less than any comparable stove
Cost: About $200
Pomoly Timber Stove: If cost wasn’t a factor & I could only have one stove, it would be this one. I haven’t tried this one personally yet…
But looking at the specs & video reviews of it, it seems to hit the perfect balance of weight, features I like & usability.
Highlights:
- Only weighs 5 pounds
- Option for glass panels on both sides (drool)
- Has foldable legs
- Cool looking honeycomb spark arrester
Cost: About $445
Seek Outside Cub Stove: One of the lightest stoves available. No option for a glass panel, though.
Highlights:
- Weighs less than 2 pounds
- Made in America
Cost: About $300
Winnerwell Stove: This stove gets mostly 5-star reviews & is a favorite amongst bush crafters.
Highlights:
- Only weighs 4 pounds
- Foldable design
- Can be purchased on Amazon
Cost: About $500
I’d also recommend checking out Amazon’s current lightweight stove selection. It seems like there are new options every time I check.
Best Light Weight, Packable, Backpacking Hot Tents
All of the tents listed below use a fire-rated stove jack & are specifically designed to be used with a wood stove. They are also light enough to carry on your back.
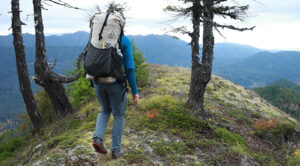
These companies offer a variety of hot tents in different sizes, so I encourage you to check out their websites.
Best Overall
Luxe Megahorn (My current tent of choice)
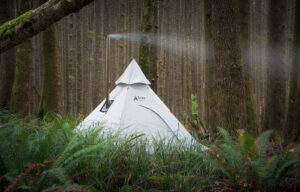
Weight: 8.7 Pounds
Sleeps: 2 people with woodstove
Cost: About $269
I just LOVE this tent. Make sure you watch the video at the beginning of this guide to get an inside look & see this thing perform in a wild winter storm.
Luxe Hiking Gear makes the best lightweight, packable, hot tents at an affordable price.
Another awesome thing about Luxe is that they offer some pretty killer deals on stove + tent combos.
Lightest
Seek Outside Cimarron Ultralight
Weight: 3 Pounds
Sleeps: 2 people with woodstove
Cost: About $938 (Ouch)
If money weren’t a factor, this would definitely be in my kit. I’m a sucker for ultralight gear & shelters constructed of Dyneema.
Available on Amazon
You can purchase Onetigris hot tents on Amazon, unlike the other tents mentioned on this page.
For the most part, these tents get excellent reviews on Amazon.
They offer a variety of tents with different sizes & features.
Benefits of purchasing an Onetigris tent on Amazon:
- No long wait times (Some of the other companies mentioned on this page have 6-8 week wait times)
- Free shipping for Prime members
- Free returns
- Budget-friendly
- Good use of that Amazon gift card
Freestanding
NorTent Gamme 4
Weight: 12.8 Pounds
Sleeps: 2 people with woodstove
Cost: About $846
This seems to be the only 4 season, freestanding tent that can fit 2 people with a woodstove while still being light enough to hike into a location.
It’s built to take on heavy snow loads & can withstand harsh winter conditions.
10 Essential Tips for Hot Tent Camping
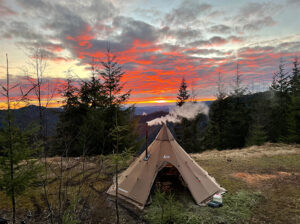
1. Consider purchasing a bigger tent & share it with a hiking partner.
This enables you to:
- Split the weight of the gear
- Share the task of wood collecting & processing
- Have room to stand and sit comfortably by the fire
My tent of choice comfortably sleeps, 2 people. I can still use it solo & enjoy the extra space.
2. Do a test run at your house first. Ensure you are VERY proficient at setting up your tent & using your stove properly. I can’t stress enough about the importance of this.
3. Pack in dry kindling & fire starters if you plan on being in wet conditions. Not worth the time & energy to try and be a bush crafter here.
I like to use Esbit Cubes instead of wax-based firestarters that gum up your stove.
4. Start drying wet wood immediately. Collect and process all of your wood first thing at camp. Stack it around your wood stove so it can begin to dry as the stove heats up.
5. Collect a few large pieces of wood if you plan on keeping the fire going overnight. A well-established coal base can keep a fatty piece of wood smoldering for 3+ hours.
6. Don’t worry about your tent not having a floor. Floors add weight & hot embers can melt through them.
Don’t set your tent up in an area that collects water & you will be fine.
I’d highly recommend each person having their own groundsheet for moisture protection instead. You can see how I do this in many of the pictures in this guide.
7. Learn how the damper and vents on the front of your stove work together to keep your fire going optimally. It took me a bit of practice to get that dialed in.
8. An inner mesh tent isn’t necessary if mosquitoes aren’t present (they usually aren’t when it’s cold & or wet out). These add weight & you lose valuable living space.
In fact, I’ve never used an inner mesh tent out of the 50+ days I’ve been in a hot tent.
9. Avoid camping in exposed areas during high winds. I’ve spent 100’s of nights out in the wilderness & I can tell ya some of my scariest moments have been in this situation.
The risk factor goes up 10 fold here with a hot stove in your tent.
10. Upgrade your tent stakes. I’ve seen firsthand that many companies are providing very cheap tent stakes with their tents. They bend super easy & the heads snap off. This could put you in a bad situation if you are using a single-walled shelter.
I swear by the full-length MSR Groundhog Stakes. I have pounded these into the ground 100’s of times with no issues.
Links to Other Valuable Hot Tent Resources
Luxe Hiking Gear Blog – lots of great videos & informative information.
Lone Wolf 902 YouTube channel – This guy has countless videos about using a hot tent that I have found very helpful & quite enjoyable.
Seek Outsides website – U.S.A made tents & wood stoves.
Pomoly Wilderness Equipments website – Tent stoves & hot tents.
Feel free to leave a comment if you can add any valuable information to this page.
Happy Trails,
Iron Tazz
Leave a Reply